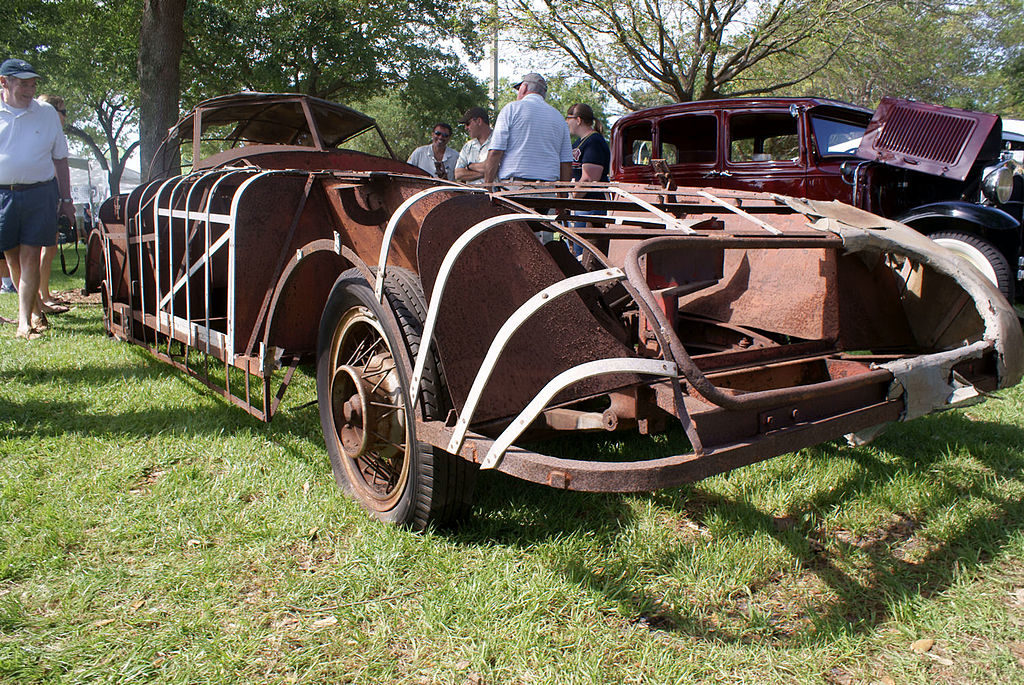
There are times when your vintage car needs thorough restoration to look new again. When you need to perform a car restoration project yourself without much help, you will often look for step-by-step instructions to help you start and complete a car restoration project. Many people get intimidated and soon seek professional help. If you belong to that category of people, you can check https://www.crunchbase.com/organization/jd-classics for professional help.
For others, here are 10 quick tips that will help you with a car restoration project.
1. Make space
Clear a big space in your garage or your backyard, which is uninterrupted so you can have your car there for a few days or for as long as the project lasts. Remember that you should have enough space to access the car from all sides and check all its faces.
2. Empty the fuel tank
One of the most important things is to empty the fuel tank of your car and remove the battery before you get started. But check your municipal regulations before throwing off the fuel if you are not planning to put it to your other cars.
3. Remove all spare parts
Now carefully start removing all the stainless trim pieces and other chrome accessories from the body of your car. Start putting them nicely and neatly on a hanging rack and make a note of what you remove from where. Even if you are a pro at cars and know them inside out, the task at the end can be overwhelming and if you make notes from the beginning, assembling everything will be a piece of cake at the end. In fact, if you take your car to a professional like JD CLASSICS for a restoration job, you’ll be surprised at how well managed they are and how well they document even the smallest detail while pulling apart the parts of each car.
4. Remove all glass attachments
Remove all the glass pieces and keep them at a safe place, away from kids and of course yourself while you are busy restoring your car.
5. Carefully remove the dash
While removing the wires, mark their locations on the dash instruments. If you intend to remove the entire dashboard, use mounting instruments instead and put everything in separate boxes for a cleanup later.
6. Take pictures
Keep your camera handy to take a lot of pictures at each stage while you’re removing all the parts from your car. This will help you put everything back together in its proper place. Not only that, once you are done with the restoration project, you will be amazed to see the before and after pictures of your car and be happily surprised by the wonderful job you did.
7. Make notes
Mark all orientations while removing the rear and front suspensions.
8. Look at the frame
Remove the body if your car has a full frame. Else, simply remove the rear axle and carefully position the frame on the jack stands.
9. Categorise parts
Carefully look at all detached parts to see which ones need a cleanup, a repaint or a possible replacement.
10. Clean the carpets
Don’t forget to clean the carpets and dry them well in the sun before putting them back in the car.
A car restoration project is not daunting. In fact, it is an excellent way to purchase and lay your hands on a classic car, turning it into an evergreen charm. It can be real fun and a learning experience but only if you are ready to invest some time, be patient along the process and are ready to seek help from family or professionals when you are stuck.
