Being a homeowner is one of the most fulfilling things there is. To have a place to call home that you could go back to at the end of the day, with no landlords asking you for rent, is pretty cool. Yet, it does come with its responsibilities and complications. While those living in leased properties don’t have to worry about repairs, when it is your home, it’s a different story. Any repairs that need doing are your responsibility, and some can be quite challenging –– like trying to install new replacement windows.
These DIY tips will help you install them on your own.
Get the right tools
This isn’t exactly a task you could do without the proper tools. Before doing anything, you need to ensure that you have all the necessary tools so you could get the job done properly. You’re going to need a Caulk gun for starters to help you seal any gaps and cracks. You should also get a cordless drill, safety glasses, hammer, level, screwdrivers, utility knife, tape measure, pliers, and a pry bar. Go to the nearest hardware store and make sure you have everything in this list.
Taking measurements
After you get the proper tools, you need to get the measurements of the current window to learn what those of the new one should be. You’ll want to measure the width and height of the pocket opening, and remember to measure inside the frame from all directions. After you get the right measurements, order the new window, and make sure it fits properly before proceeding with the installation process so you don’t cost yourself money on buying replacements for the replacements.
Finding the right replacement window
Moving back a little bit, you cannot take the choice of the type of new window lightly. If you’re making the change anyway, might as well get a decent kind that both looks good and will survive for quite a while. So, what options do you want to go with? As you can see if you click here, you can never go wrong with a vinyl window that is custom designed for energy efficiency purposes. When you get such a window, you can save costs on utility bills because it can control how much temperature seeps inside during the different seasons. You should also pay attention to the kind of glass it is made of, because modern glass technology made it much easier to clean your windows, and that’s definitely what you should be after.
Removing the old one
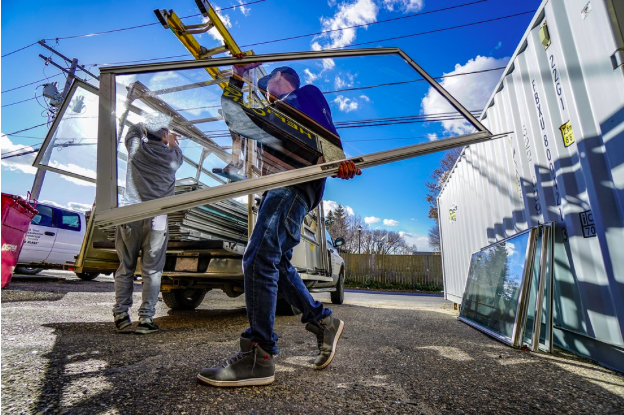
Now that you have everything you need in order, you’ll need to remove the old window, and you should be really careful with this step so you don’t damage the frame or walls. Remove the screws and use the pry bar to unhinge the frame slowly. If you have older windows, there might be a couple of more steps involved, and you definitely need to watch some YouTube videos first because the process will be a bit more complicated.
Installing the new window
You will need to be equally careful with the installation process because a new window could be easily scratched or damaged. First, after removing the old one, make sure you clean the area thoroughly—vacuum the opening and use a wet cloth to remove any remaining dust or stains. Depending on the kind of window you got, you need to slowly start inserting it into the opening. This is where the expertise of a window contractor in Northern Virginia can really come in handy. Taking your time ensures a perfect fit, as measurements can sometimes be a bit off. The last thing you want is to damage the frame beyond repair or ruin your chances of returning the new replacement because of any mistakes during installation.
Wrapping up
After you’ve installed the window, you need to fasten it with the screws and ensure they are not too tight just yet, not before you’re 100% certain the fit is perfect. If you’re going for vinyl windows, you need to reinstall the trim. Next, you should insulate the window using fiberglass and vinyl strips most likely –– this is where you use a utility knife to cut just the right strips to close any possible gaps.
It definitely won’t be easy to do this on your own, but it is quite doable, though it is not recommended that this be the first house project you take on because it requires some skills. In any case, there is a wealth of resources online that could walk you through this step by step and even on video, so make sure you take advantage of that free and available knowledge on the internet.