 Metal surface rust treatment is easily the most neglected (but most important) home maintenance task around. It keeps your fixtures and fittings strong — and without it, rust will eat your property away from the edges inward.
And don’t worry…rust won’t stop there.
Rust never stops until there is nothing left to eat.
It doesn’t announce itself with squeaky hinges or damaged paint. Rust starts slowly in hard to see places like joints, edges, and corners. Often by the time you realise there’s a problem it’s too late. Repairs and replacements cost a lot more than prevention. The good news? Preventing rust is cheap, easy to do yourself, and super effective when performed regularly.
Let’s dive into…
What every homeowner needs to know about rust treatment
- Why treating rust on metal surfaces matters
- Which fixtures and fittings need the most attention
- The 5 step metal surface rust treatment checklist
- How to stop rust coming back
Why Metal Surface Rust Treatment Is Important
Let’s start with a couple of mind blowing stats…
Corrosion takes an estimated $276 Billion bite out of the US economy each year. Yes, per year. That’s easily more than 3% of the entire GDP!
To put it simply, corrosion doesn’t care about your fixtures, fittings or bank account.
Understanding how serious rust can get if left unchecked is the first step to handle rust effectively and stop it in its tracks.
If rusting metal was just an aesthetic problem there wouldn’t be much to worry about. But it’s not.
Left alone, rust will:
- Ruin metal gates, railings, fences, pergolas and outdoor furniture
- Destroy gutters and plumbing fixtures
- Cause hundreds of preventable repair issues around your home
And it starts with moisture.
Every home has moisture issues. Bathrooms, kitchens, laundry rooms, basements…even air humidity contributes. Metal surface rust prevention is how to stop it before it starts.
With correct rust prevention best practices, corrosion could cost 15–35% less according to research by NACE International. Applying those types of savings at home starts with regular maintenance.
Preventing rust is…
- Less expensive than repairs
- Easy to do yourself
- Completely effective when done regularly
Which Fixtures Should Get The Most Attention?
Unless built from metal, chances are a home has dozens (if not hundreds) of vulnerable areas.
Iron and steel will rust whenever they’re exposed to both moisture and oxygen at the same time. Climbing frames, garden furniture, fences and decking are all at risk. Even things like screws, hinges and bolts aren’t safe.
Focusing on the areas that need the most attention is the best place to start:
- Gates and fences — There’s no worse combination than direct weather exposure and metal.
- Outdoor railings and handrails — This often goes overlooked until it becomes a health & safety concern.
- Window & door frames — Look for corrosion around seals and where two pieces of metal join.
- Gutters/downpipes — Nothing speeds up corrosion faster than stagnant water + organic matter.
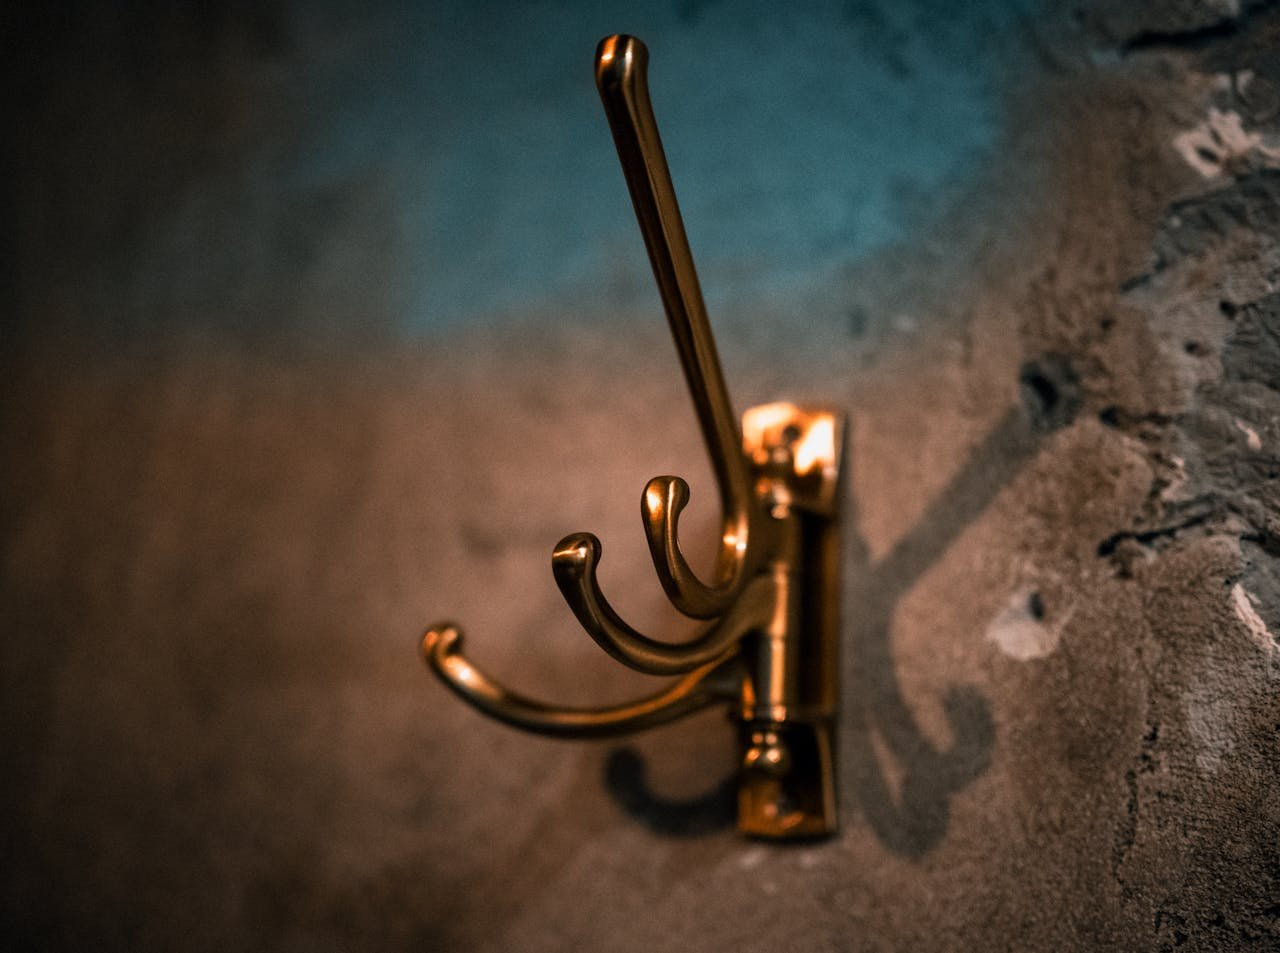
- Bolts/screws/hinges — Small components that have a massive impact when they fail.
- Garden furniture/ornamental fixtures — Decorative things are often the most neglected.
That list might look a little different depending on the property. And that’s totally okay. In fact, that’s why this comprehensive checklist can be used year after year.
The Ultimate Metal Surface Rust Treatment Checklist
Follow these steps once a year (more for high-exposure items) and rust will have no chance of gaining a foothold on the property.
Step 1: Inspection Is Key
Think of this process like an annual health check. Problems can’t be treated if they aren’t found first.
Inspect every metal surface on the property. These signs mean fixtures are beginning to succumb to rust:
- Rust coloured flakes or spots on metal surfaces
- Flaking, bubbling paint around joins and edges
- Surface staining on walls or adjacent surfaces
- Soft or squishy metal that should feel solid
Areas that trap water or remain damp for long periods of time are more susceptible. Focus on these problem areas first and don’t hesitate to scratch a little paint away to see what’s really going on.
Step 2: Clean Everything Down
It’s tempting to skip this step — but it’s a step worth taking.
Any remaining dirt, grease or loose rust will prevent the treatment from bonding with the metal surface.
Grab a wire brush or piece of coarse sandpaper and scrub away any loose particles. Rinse off with a degreaser or mild soap then allow the metal to completely dry before doing anything else.
Trapped moisture = faster corrosion.
Make sure there is plenty of time allowed for everything to dry.
Step 3: Apply A Rust Treatment
With the surface completely clean and dry, it’s time to treat what’s left of the rust.
Light surface rust can be converted with a chemical rust treatment. Heavier oxidation will need a rust inhibiting primer to lock down before paint is applied.
Never jump straight to paint. Sure, it might look ok…at first. But the rust will bleed through and destroy all the hard work.
Step 4: Seal With A Protective Coating
This is where all the magic happens.
Once the rust has been treated, the metal needs to be sealed from oxygen and moisture. Not all coatings are equal so make sure the right paint or coating is used for the job:
- Outdoor gates/fences — Oil based, rust-inhibiting paint with UV protection works great
- Railings/handrails — Enamel or epoxy-based coatings are durable and tough
- Bolts/screws/hinges/joints — Apply a zinc-rich primer first then topcoat
- Garden furniture — Powder coated finishes are tough. Otherwise use a specialist metal paint
High quality coatings and paints add years of life to fixtures.
Step 5: Create A Maintenance Schedule
Ok, there’s actually a Step 5 that stops rust in its tracks.
Don’t forget to schedule the next inspection. Building it into a routine will help keep things on track.
- Regular inspection — Once every 12 months is recommended
- Keep it clean — Dirt and debris accelerate corrosion
- Touch ups — Fix chips and scratches as soon as they appear
- Re-coat — High traffic items may need a new coat of paint every 2–3 years
If you’ve made it this far then congratulations! Everything there is to know about stopping metal surface rust is now covered.
Here’s a quick recap:
- Inspect the entire property and every metal surface
- Clean down all surfaces before treating rust
- Apply a rust treatment to stop further corrosion
- Seal the surface with a protective coating or paint
- Repeat this process annually (or sooner for problem areas)
Boom! That’s the most comprehensive metal surface rust treatment checklist available. Use it, bookmark it, print it off and stick it to the fridge for all to see.