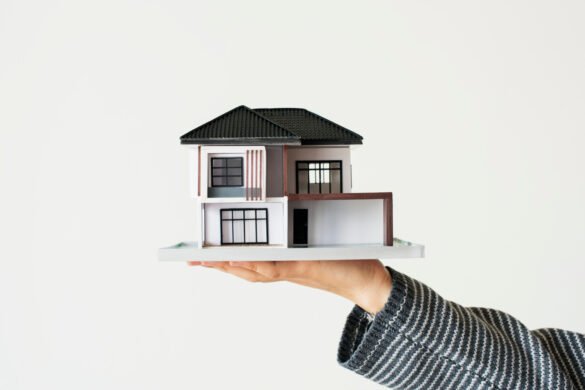
 The concept of home is evolving. Families across the country are swapping sprawling estates for the efficiency of tiny homes, driven by financial freedom and a simpler lifestyle. But as climate change intensifies wildfires, tornadoes, and hurricanes, a new priority has emerged: survival.
Today’s compact dwellings are about durability. Homeowners are seeking weather-resistant shelters that offer fortress-like protection within a smaller footprint. This shift is transforming the market, marrying the charm of small-space living with the resilience of modern engineering.
The Shift to Resilient Materials
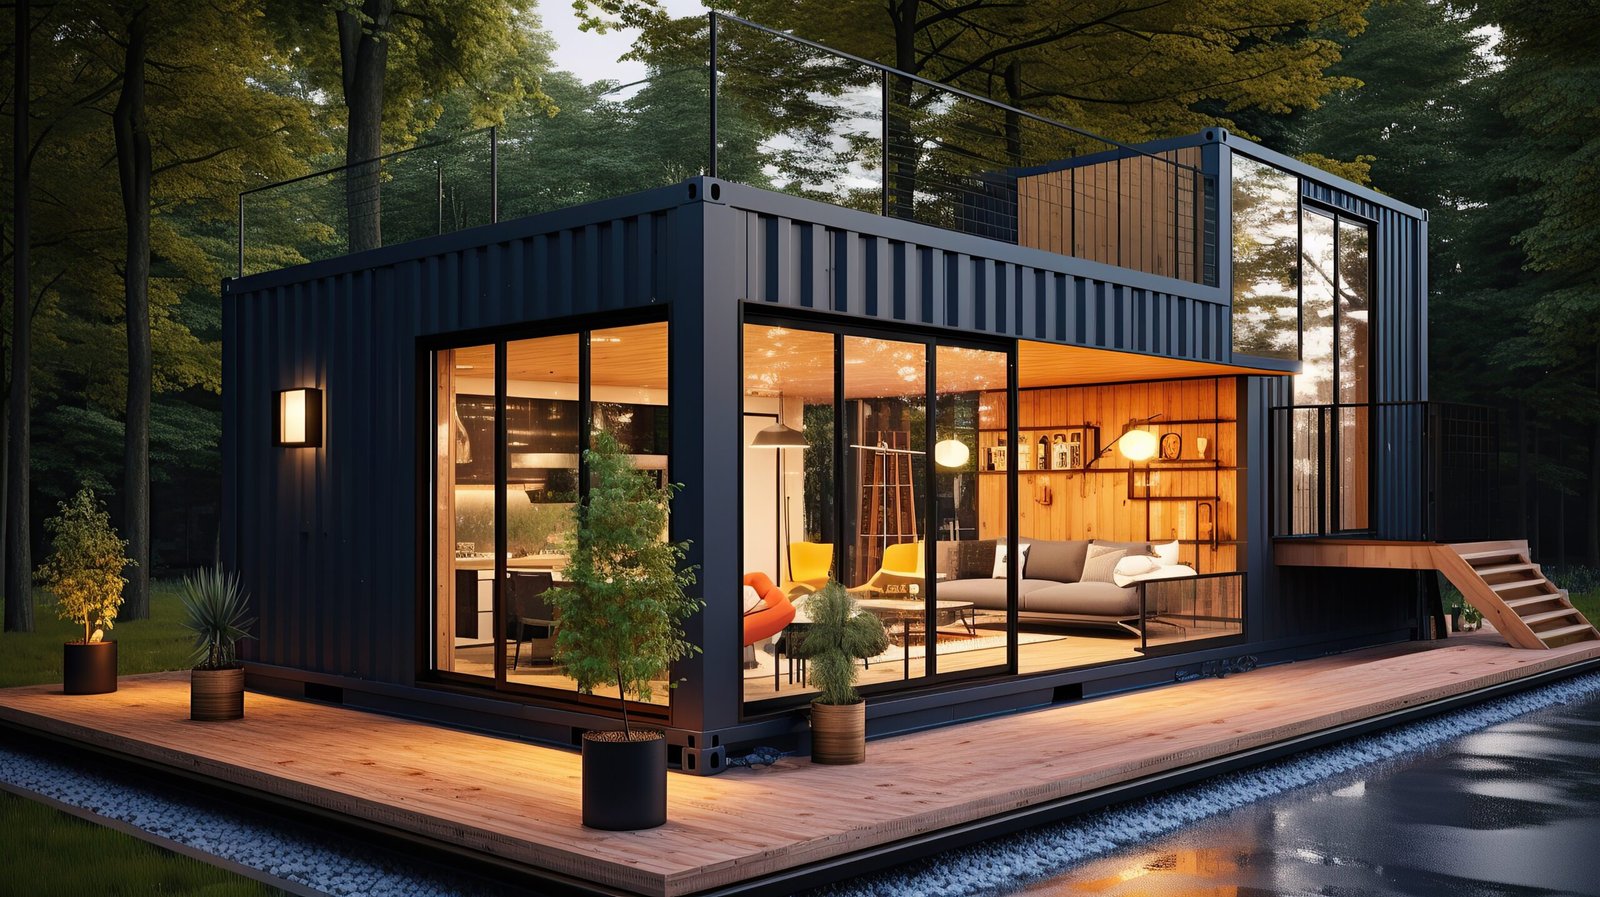
The fear that smaller means flimsier is fading fast. Builders are now turning to high-performance materials designed to withstand nature’s fury, with steel leading the charge. Unlike wood framing, which can warp, rot, or burn, steel provides a robust, durable skeleton.
Builders utilize pre-engineered building systems or containerized facilities engineered for specific environmental loads. These are integrated structures where advanced wall systems and secondary structural components work together to reinforce the shell against high winds and heavy snow. By choosing metal buildings as their foundation, homeowners gain a structure tough enough to outlast events that would level a conventional stick-built home.
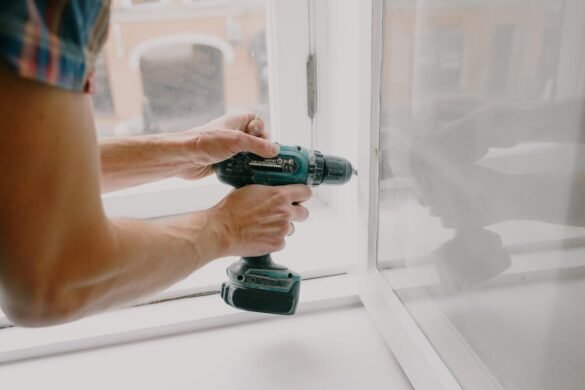
However, the strength of your build ultimately depends on the expertise behind it. Finding the right provider is just as crucial as choosing the material itself. Look for a company with a proven track record in your specific climate zone, one that offers comprehensive support from design and engineering to delivery and erection of containerized facilities.
Navigating Codes and the Science of Steel
Building small doesn’t exempt a structure from local regulations. Understanding building codes is essential for anyone constructing a permanent, weather-resistant retreat. While requirements vary by region, they universally dictate performance under duress, and the materials used in modern tiny homes often exceed these minimums.
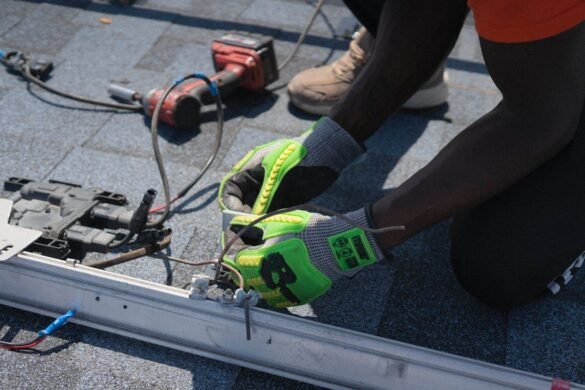
The exterior envelope is the first line of defense. A standing seam metal roof has become the gold standard, with interlocking metal panels fastened securely to withstand high winds. Whether using an exposed fastener system or a premium concealed fastener design, metal roofing materials provide a waterproof barrier that can last 50 years or more.
Innovators behind hypersteel structures are advancing the field further, creating lightweight yet incredibly strong frames assembled via a panelized system. This approach ensures an airtight, structurally sound envelope while incorporating cool coatings that reflect solar heat and reduce energy burdens.
Building Solutions for Income and Independence
The durability of these building solutions offers economic opportunity. As families look for ways to offset the cost of land and mortgages, the backyard accessory dwelling unit (ADU) has become a financial powerhouse.
By placing a weather-resistant tiny home on a property, homeowners can generate significant rental income. In an era of unpredictable storms, a renter is more likely to pay a premium for a unit built with metal panels that won’t be damaged by hail, ensuring a steady, long-term revenue stream.
Furthermore, the flexibility of building systems allows these units to serve dual purposes. A backyard structure might function as a quiet home office during the day, providing a soundproof, climate-controlled workspace separate from the main house, and transform into a rental suite or an emergency shelter for extended family during a hurricane. This multi-functional approach is the hallmark of smart design, proving that resilience and adaptability go hand in hand.
The Psychological Payoff: Peace of Mind in a Protective Shell
Beyond physical protection, resilient tiny homes offer a profound psychological benefit: peace of mind. In an era of climate anxiety, the fear of vulnerability fades when you’re surrounded by steel and smart engineering.
Owners report genuine calm during storms. The howling wind and pounding rain no longer trigger panic, but rather reassurance. The robust construction provides audible proof of protection, transforming the home from a simple dwelling into a true refuge.
This security extends to long-term planning. Homeowners aren’t just hoping their property survives. They’ve made a calculated bet on durability. By choosing materials built to last, they gain a constant, stable anchor regardless of the weather.
The Evolution of the Off-Grid Sanctuary
Resilient materials naturally align with another priority: self-sufficiency. If a home can survive a disaster, it should also function independently afterward. This has accelerated off-grid integration, creating dwellings that are both physically robust and fully autonomous.
Modern tiny homes are increasingly designed as closed-loop systems. Solar panels integrate seamlessly with metal roofs, turning the protective shell into a power plant. When paired with compact battery storage, homeowners can keep essentials running even when the grid fails for weeks.
Water independence is the next step. Builders utilize space beneath the home or within structural skids to house rainwater collection and filtration systems. In flood-prone areas, these can be elevated or quickly disconnected.
The Bottom Line
People are now building homes that are small but mighty. When the weather turns nasty, it turns out the smallest house can be the one that stands the strongest. But a dream built on steel and smarts still needs the right hands to bring it to life. Do your research and choose a reputable builder who understands that strength and functionality are just as important as square footage.